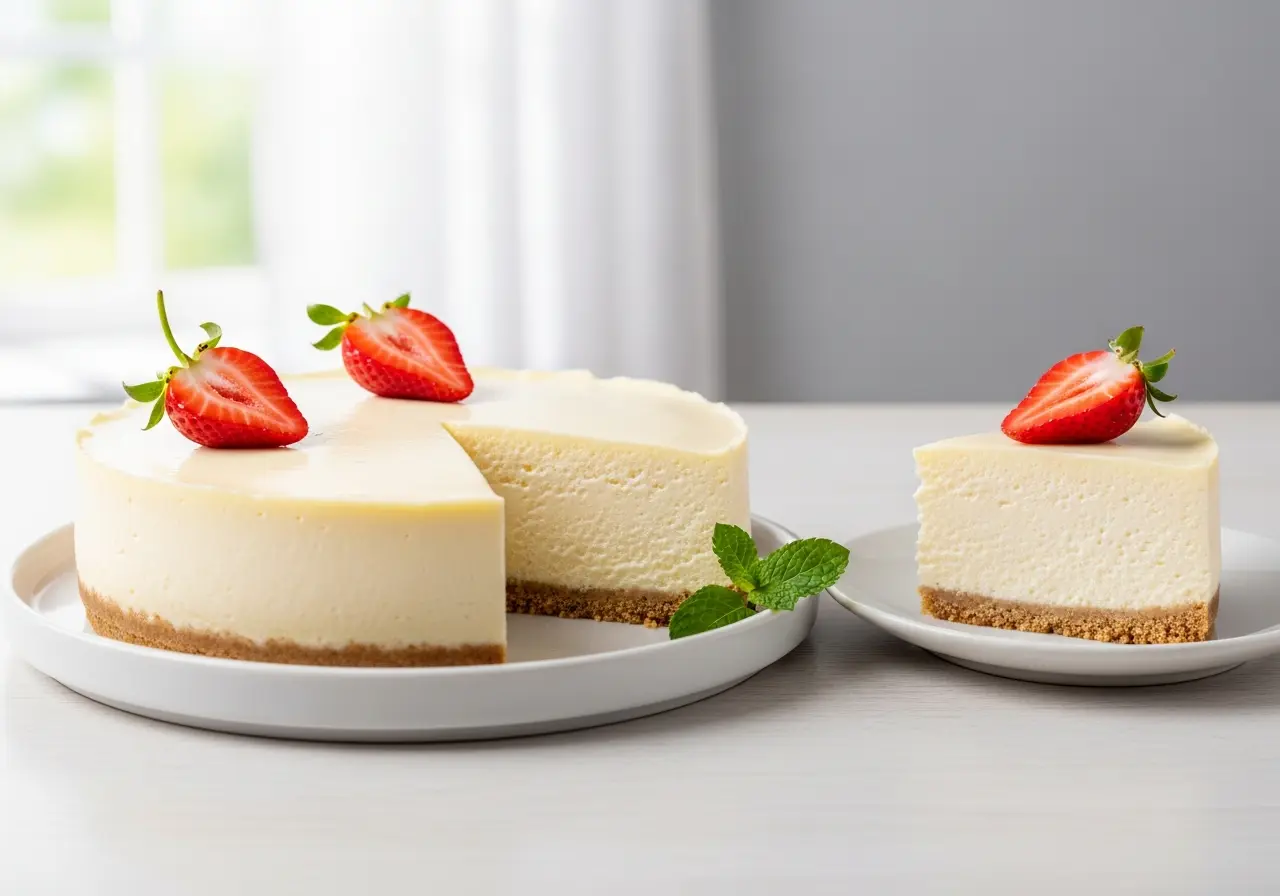
Imagine sinking your spoon into a luscious,creamy cheesecake that melts effortlessly on your palate-all without turning on the oven. This dreamy dessert combines rich, velvety filling with a simple, gluten-free crust that’s as easy to make as it is delicious. whether you’re catering to dietary needs or just craving a fuss-free sweet treat, this no-bake cheesecake offers a perfect harmony of texture and flavor. Join us as we explore how to create this delightfully smooth dessert that promises indulgence without the gluten or the heat.
Creamy no-bake cheesecake with easy gluten-free crust offers a delightfully smooth, luscious dessert experience that caters perfectly to those seeking indulgence without gluten. This recipe blends the tangy richness of classic cheesecake filling with a satisfyingly crisp crust made from wholesome, gluten-free ingredients, creating a balanced bite that melts effortlessly on your tongue.Whether you’re hosting a special occasion or simply craving a comforting sweet treat, mastering the nuances of crust choice, filling texture, and creative toppings will elevate this dessert to an unforgettable star.
Prep and Cook Time
- Prep Time: 20 minutes
- Chill Time: 4 hours (or overnight for best results)
- Total Time: Approximately 4 hours 20 minutes
Yield
- serves 8 generous slices
Difficulty Level
- Easy - perfect for home bakers and dessert beginners
Ingredients
- For the gluten-Free crust:
- 1 ½ cups almond flour
- ¼ cup coconut sugar or brown sugar
- ⅓ cup unsweetened shredded coconut (optional for texture)
- 5 tbsp unsalted butter, melted
- ½ tsp pure vanilla extract
- Pinch of sea salt
- For the Creamy Filling:
- 16 oz cream cheese, room temperature
- 1 cup heavy whipping cream, cold
- ¾ cup powdered sugar, sifted
- 2 tsp fresh lemon juice
- 1 tsp pure vanilla extract
Instructions
- Prepare the crust: In a medium bowl, combine almond flour, coconut sugar, shredded coconut, and sea salt. Stir well to distribute evenly.
- add the melted butter and vanilla extract, mixing until all ingredients are moistened and the mixture holds together when pressed.
- Press the crust mixture firmly and evenly into the bottom of a 9-inch springform pan. Use the back of a spoon or your fingers to create a compact,flat base. Chill in the refrigerator while preparing the filling to let it set, about 15-20 minutes.
- Make the filling: In a large bowl, beat the cream cheese with an electric mixer on medium speed until smooth and creamy, about 2-3 minutes-avoid overmixing to prevent air bubbles.
- Gradually add the powdered sugar,lemon juice,and vanilla extract,blending until just incorporated for that perfect balance of sweetness and tang.
- In a separate chilled bowl, whip the heavy cream to stiff peaks, ensuring it’s light and airy.
- Gently fold the whipped cream into the cream cheese mixture with a spatula, using slow, deliberate strokes to maintain a silky, fluffy texture.
- Pour the filling onto the chilled crust, smoothing the top evenly. Cover tightly with plastic wrap and refrigerate for at least 4 hours, preferably overnight, to allow the filling to set beautifully.
- Before serving, run a thin knife around the edges to loosen the cheesecake and carefully remove the springform ring.
Tips for Success
- Choosing Your Crust: Experiment with various gluten-free bases such as crushed gluten-free graham crackers or ground pecans for a richer, nuttier flavor. The almond flour base provides a moist texture that complements the creamy filling perfectly.
- Room Temperature Ingredients: Ensure the cream cheese is softened before mixing to avoid lumps and achieve that signature silky smooth filling.
- Whipping Strategy: chill your bowl and beaters before whipping cream to speed up the process and enhance volume. Incorporate whipped cream carefully to preserve the lightness.
- Make-Ahead Convenience: This cheesecake improves in flavor and texture after chilling overnight, making it ideal for prepping ahead of your event.
- Troubleshooting: If your filling feels too loose, try refrigerating longer or lightly fold in 1 tablespoon of unflavored gelatin dissolved in water for added stability.
Creative Toppings and Serving Suggestions
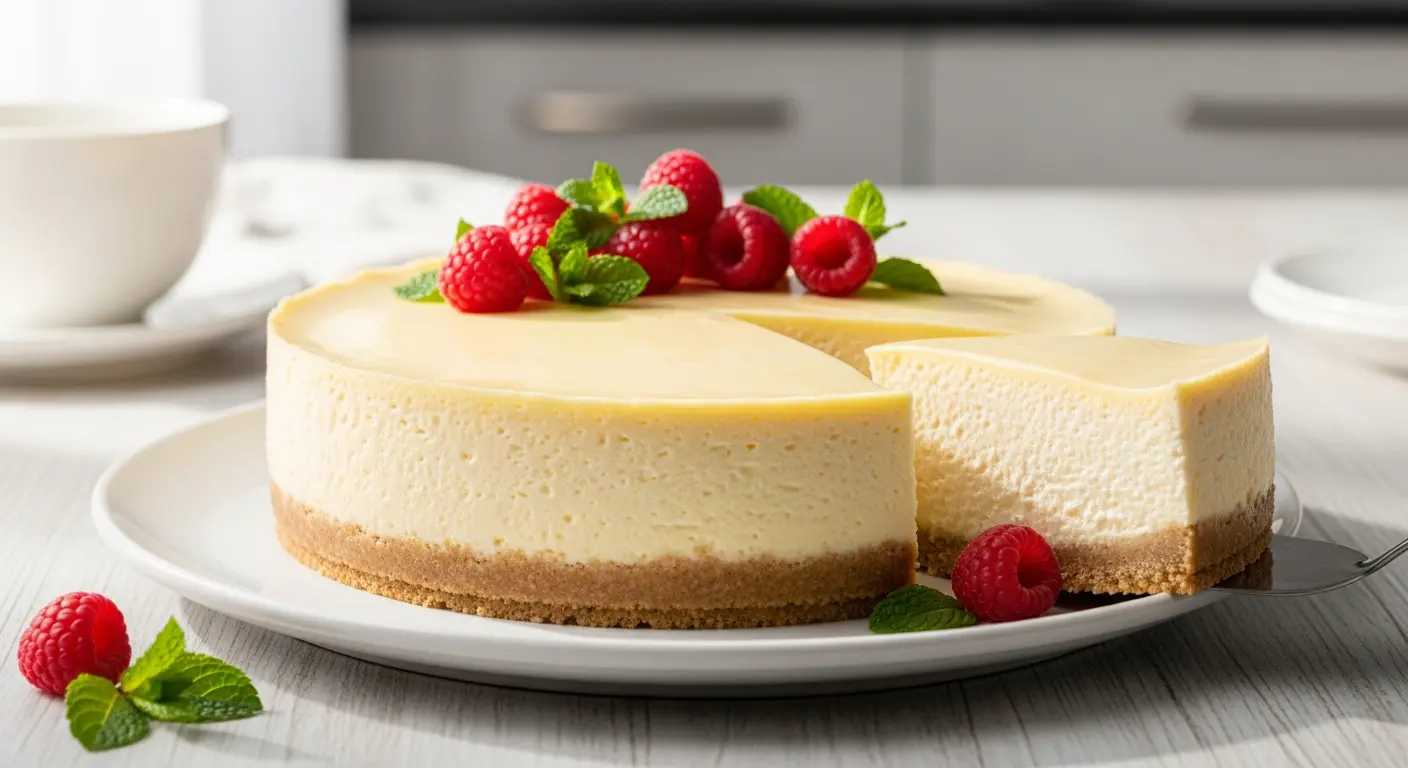
Elevate the creamy no-bake cheesecake with easy gluten-free crust by adding vibrant, fresh or textured toppings. consider a glossy layer of strawberry rhubarb compote for a burst of fruity tartness or arrange a selection of fresh berries-blueberries, raspberries, and sliced strawberries-for a colorful, natural garnish. Toasted coconut flakes or chopped pistachios scattered on top add buttery crunch that contrasts beautifully with the velvety filling.
For an elegant twist, drizzle with a warm homemade chocolate ganache or a swirl of citrus curd just before serving. Presenting single slices on chilled dessert plates with a mint sprig or edible flower creates an irresistible visual and aromatic finish.
Nutritional Facts
| Nutrient | Amount per Serving |
|---|---|
| Calories | 350 kcal |
| Protein | 6 g |
| Carbohydrates | 12 g |
| Fat | 30 g |

For more delightful gluten-free desserts, check out our collection of gluten-free dessert recipes. Also, take a peek at nutrition insights from Healthline’s gluten-free diet guide to understand the benefits of gluten-free baking and eating.
Q&A
Q&A: Creamy No-Bake Cheesecake with Easy Gluten-Free Crust
Q1: What makes this cheesecake “no-bake”?
A: This cheesecake skips the oven entirely! Instead of baking, it relies on chilling time in the fridge to set the creamy, dreamy filling. This method keeps the texture silky and smooth, with a perfectly luscious bite every time.
Q2: How do you create an easy gluten-free crust without sacrificing flavor?
A: The secret lies in using naturally gluten-free ingredients like almond flour,crushed gluten-free cookies,or even ground oats (make sure they’re certified gluten-free).Combined with a bit of melted butter and a touch of sweetness, the crust becomes buttery, crisp, and the perfect base for the cheesecake.
Q3: Can I customize the filling to make different flavors?
A: Absolutely! The classic filling is rich and creamy thanks to cream cheese, whipped cream, and a hint of vanilla. You can swirl in fresh fruit purees, fold in chocolate chips, or add zesty citrus zest to personalize your cheesecake masterpiece.
Q4: How long should I chill the cheesecake for optimal firmness?
A: Patience is key! Ideally, chill the cheesecake for at least 4 hours, though overnight is best. This gives the filling enough time to fully set and develop that melt-in-your-mouth texture.
Q5: Is it possible to make this dessert ahead of time?
A: Yes! This cheesecake is a perfect make-ahead treat. Prepare it the day before your event, keep it refrigerated, and enjoy a perfectly set dessert that’s ready to impress.
Q6: what toppings work best with this creamy no-bake cheesecake?
A: The possibilities are endless! Fresh berries, fruit compotes, chopped nuts, a drizzle of honey or chocolate sauce, and even a sprinkle of toasted coconut can elevate your cheesecake from simple to spectacular.
Q7: Can I substitute dairy or use vegan alternatives?
A: Certainly! For a dairy-free spin, swap the cream cheese with plant-based alternatives like cashew cream cheese and use coconut cream or whipped aquafaba rather of dairy whipped cream. Just keep in mind the texture might vary slightly but will still delight your taste buds.
Q8: What’s the best way to store leftovers?
A: Keep your cheesecake chilled in an airtight container or covered tightly with plastic wrap. It will stay fresh for up to 4-5 days in the fridge.Just slice and serve chilled for the best flavor and texture!
Q9: How can I ensure the crust stays firm and doesn’t get soggy?
A: To maintain a crisp crust, press it firmly into your pan and chill it before adding the filling.Also, avoid overly wet fillings or toppings that could soak into the crust too quickly. Enjoy that satisfying crunch with every bite!
Final Thoughts
Whipping up this Creamy No-Bake Cheesecake with an Easy Gluten-Free crust proves that indulgence doesn’t have to be complex-or filled with gluten. Whether you’re catering to dietary needs or simply craving a luscious, hassle-free dessert, this recipe delivers silky texture and rich flavor without ever turning on the oven. So next time you want a sweet treat that’s as approachable as it is impressive, remember: sometimes the simplest ingredients come together to create the creamiest, most delightful memories. Happy indulging!