There’s something truly magical about the silky, tangy delight of homemade yogurt-a creamy treasure that transforms simple ingredients into a luscious indulgence.While many shy away from the lengthy, precise process customary yogurt-making demands, the Instant Pot has revolutionized this age-old craft, bringing ease adn consistency right to your kitchen countertop. In this article, we’ll unlock the secrets to crafting perfect, velvety Instant Pot yogurt at home-no special skills required. Get ready to elevate your breakfast bowls, smoothies, and desserts with creamy goodness made from scratch, all with the push of a button. Let’s dive into the art and science of turning milk and live cultures into your new favourite homemade staple.
Unlock Creamy Perfection begins with selecting the freshest, highest-quality ingredients to create homemade Instant Pot yogurt that’s decadently smooth and luxuriously creamy.Far beyond a simple dairy treat, yogurt is an ancient food with roots tracing back thousands of years, prized for its nourishing probiotics and versatile flavor profile. Whether enjoyed plain, swirled with honey, or folded into vibrant fruit parfaits, every small decision in ingredients, Instant Pot settings, and culture cultivation shapes the final scoop. Let’s embark on this flavorful journey, transforming humble milk and beneficial bacteria into your new staple dairy delight.
Prep and Cook Time
- Preparation: 10 minutes
- Incubation: 8-12 hours (depending on desired tartness)
- Total Time: Approximately 9-12 hours
Yield
About 4 cups (1 quart) of creamy homemade yogurt
Difficulty Level
Easy to Medium – perfect for beginner cooks ready to become dairy artisans
Ingredients
- 1/2 gallon (8 cups) whole milk – the foundation for rich, creamy texture
- 2 tablespoons plain yogurt with live active cultures (store-bought or from previous batch)
- optional: 1 tablespoon powdered milk to enhance creaminess
Instructions
- Sterilize your Instant Pot and utensils by rinsing with hot water to maintain a clean surroundings for bacterial fermentation.
- Pour the whole milk into the Instant Pot inner pot. Using the “Yogurt” function, select “Boil” or “Heat” until the milk reaches 180°F (82°C). This step denatures proteins for that silky final texture. Use an instant-read thermometer for accuracy.
- Remove the pot and cool the milk to about 110°F (43°C). You can expedite cooling by setting the pot in a cold water bath. Too hot and you’ll kill the cultures; too cold and fermentation won’t start properly.
- In a small bowl, whisk 2 tablespoons of starter yogurt with a small amount of the cooled milk until smooth. This tempers the cultures for better incorporation.
- Return the tempered yogurt mixture into the cooled milk in the instant Pot and gently stir using a whisk or spoon, ensuring even distribution without introducing too much air.
- Close the Instant Pot lid (vent can be open or closed, as per your model’s instruction). Press the “Yogurt” setting and adjust time to 8-12 hours based on how tangy and thick you want your yogurt. Longer incubation deepens flavor and thickens texture.
- When fermentation finishes, transfer the inner pot to the fridge uncovered for at least 4 hours to chill and set the yogurt firmly.
- Once chilled, gently stir the yogurt to your preferred consistency. For ultra-thick Greek-style yogurt, strain it with a cheesecloth for 2-4 hours.
Tips for Success
- Choose full-fat milk for naturally creamy results, but 2% milk works for lighter yogurt.
- Starter cultures can be store-bought or reserved from a previous batch; ensure they contain live bacterial strains like Lactobacillus bulgaricus and Streptococcus thermophilus for authentic flavor progress.
- Maintain cleanliness to prevent unwanted bacterial growth; sterilize all tools and the Instant Pot’s inner pot before use.
- Customize incubation time: Start with 8 hours for mild yogurt; extend up to 12 hours for tangier options.
- Add powdered milk during the heating stage to boost creaminess and thickness without straining.
- Experiment with flavors after incubation, such as stirring in vanilla extract, fruit purees, or calming honey.
- Make ahead: Yogurt can be stored refrigerated for up to 2 weeks, perfect for meal prep and consistent probiotic intake.
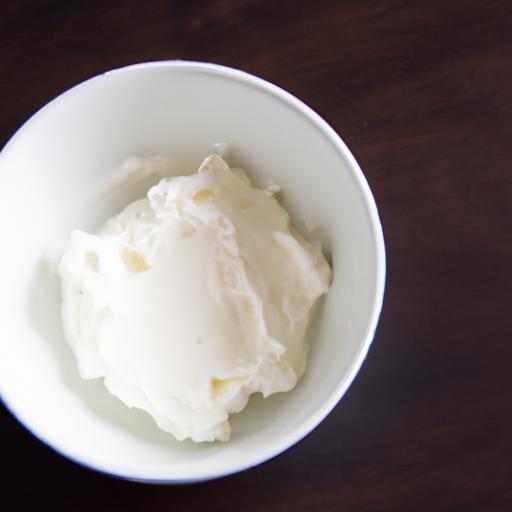
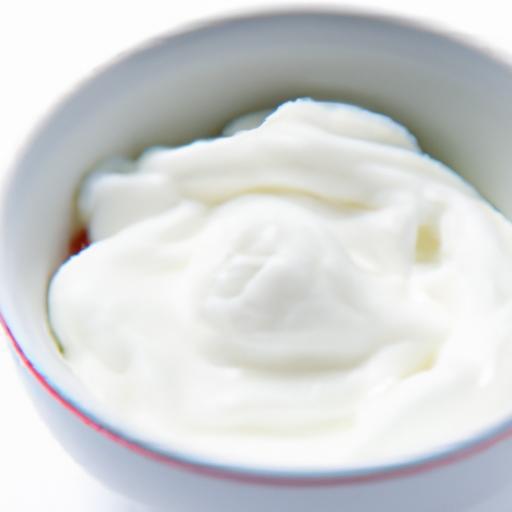
Serving Suggestions
Present your homemade yogurt chilled in rustic ceramic bowls,garnished with fresh berries,a drizzle of fragrant honey,and a sprinkle of toasted nuts or granola for delightful crunch. For a refreshing twist, fold in bright citrus zest or tropical coconut flakes.Yogurt pairs beautifully with breakfast oat bowls, can be dolloped on spicy dishes to cool the palate, or transformed into creamy salad dressings. The velvety texture and subtle tang create a canvas that invites creativity alongside wholesome nourishment.

| Nutrient | Amount per 1 cup (245g) |
|---|---|
| calories | 150 kcal |
| Protein | 8g |
| Carbohydrates | 11g |
| Fat | 8g |
Looking to elevate your dairy skills even further? Explore our comprehensive guide to homemade cheese for more fermented delights and culinary creativity. Remember, your journey to unlocking creamy perfection is just beginning-embrace the science and savor the art in every spoonful.
Q&A
Q&A: Unlock Creamy Perfection – Making Instant Pot Yogurt at Home
Q1: Why is the Instant Pot ideal for making homemade yogurt?
A: The Instant Pot combines precise temperature control and gentle heating, which are essential for culturing yogurt. Its “Yogurt” function maintains the perfect warmth for bacterial fermentation,ensuring creamy,thick results without the constant monitoring traditional stovetop methods require.
Q2: Do I need any special ingredients to make yogurt in the Instant Pot?
A: Not at all! The basic ingredients are simply milk and a small amount of yogurt with live active cultures as a starter. You can use whole, 2%, or even non-dairy milk, but whole milk typically yields the creamiest texture.
Q3: How does the process actually work inside the Instant Pot?
A: First, you heat the milk to about 180°F to denature proteins for better texture. Then you cool it down to around 110°F before adding your yogurt starter culture. The instant Pot maintains this warm environment for 6 to 12 hours, allowing good bacteria to transform milk into thick, delicious yogurt.
Q4: Can I customize the flavor and texture during this process?
A: Absolutely! The fermentation time affects tartness; longer incubation means tangier yogurt. After culturing, feel free to stir in natural sweeteners like honey or fresh fruit. For a thicker consistency, you can strain the yogurt through cheesecloth to create homemade Greek-style yogurt.
Q5: How can I ensure my homemade yogurt has a rich, creamy texture without additives?
A: Using whole milk is key, and don’t rush the incubation time-patience results in creamier yogurt. Additionally, briefly whisking the milk before incubation can help achieve a silky texture. for extra creaminess,you can add a small amount of powdered milk to thicken naturally.
Q6: Is it possible to store homemade Instant Pot yogurt, and for how long?
A: Yes, store your yogurt in a clean airtight container in the refrigerator. it typically keeps well for up to two weeks, maintaining its flavor and texture. Just be sure to reserve some yogurt as a starter for your next batch!
Q7: What if my homemade yogurt turns out too runny or too tart?
A: Runny yogurt can be fixed by straining or extending cooking time slightly. If it’s too tart, try shortening the incubation period in your next batch. Also, using a milder starter or mixing in milk powder can help balance tartness.
Q8: Can I make non-dairy yogurt using the Instant Pot?
A: Yes! Non-dairy milks like coconut, almond, or oat can be cultured as long as you use appropriate starters designed for non-dairy fermentation. The Instant Pot’s precise temperature control remains invaluable for these alternatives.
Q9: How do I clean my Instant Pot after making yogurt?
A: Cleaning is simple-remove the inner pot and wash it with warm soapy water. The yogurt function’s gentle heating means there’s usually minimal residue. Don’t forget to rinse and air dry the lid to keep everything fresh for your next batch.
Q10: What’s the ultimate tip for turning Instant Pot yogurt from good to gourmet?
A: Experiment with incubation times and starters from different brands to find the perfect tang and creaminess for your palate. Once mastered, try adding natural flavorings like vanilla, cinnamon, or fresh fruit before chilling-your homemade yogurt can rival any artisanal creamery!
In Retrospect
Unlocking the secrets to creamy, homemade Instant Pot yogurt is more than just a kitchen victory-it’s a gateway to a world of wholesome, customizable goodness right at your fingertips. by mastering this effortless process, you not only save money and reduce waste but also gain the freedom to experiment with flavors and textures tailored perfectly to your taste. So, grab your Instant Pot, gather your ingredients, and embark on a deliciously simple journey to yogurt perfection. Your taste buds-and your health-will thank you!